
Ever found yourself staring at your Xbox controller, wondering how to pry it open? Whether it’s to replace a worn-out joystick or simply to satisfy your curiosity, knowing how to safely open an Xbox controller is a nifty skill to have.
Understanding the Xbox Controller
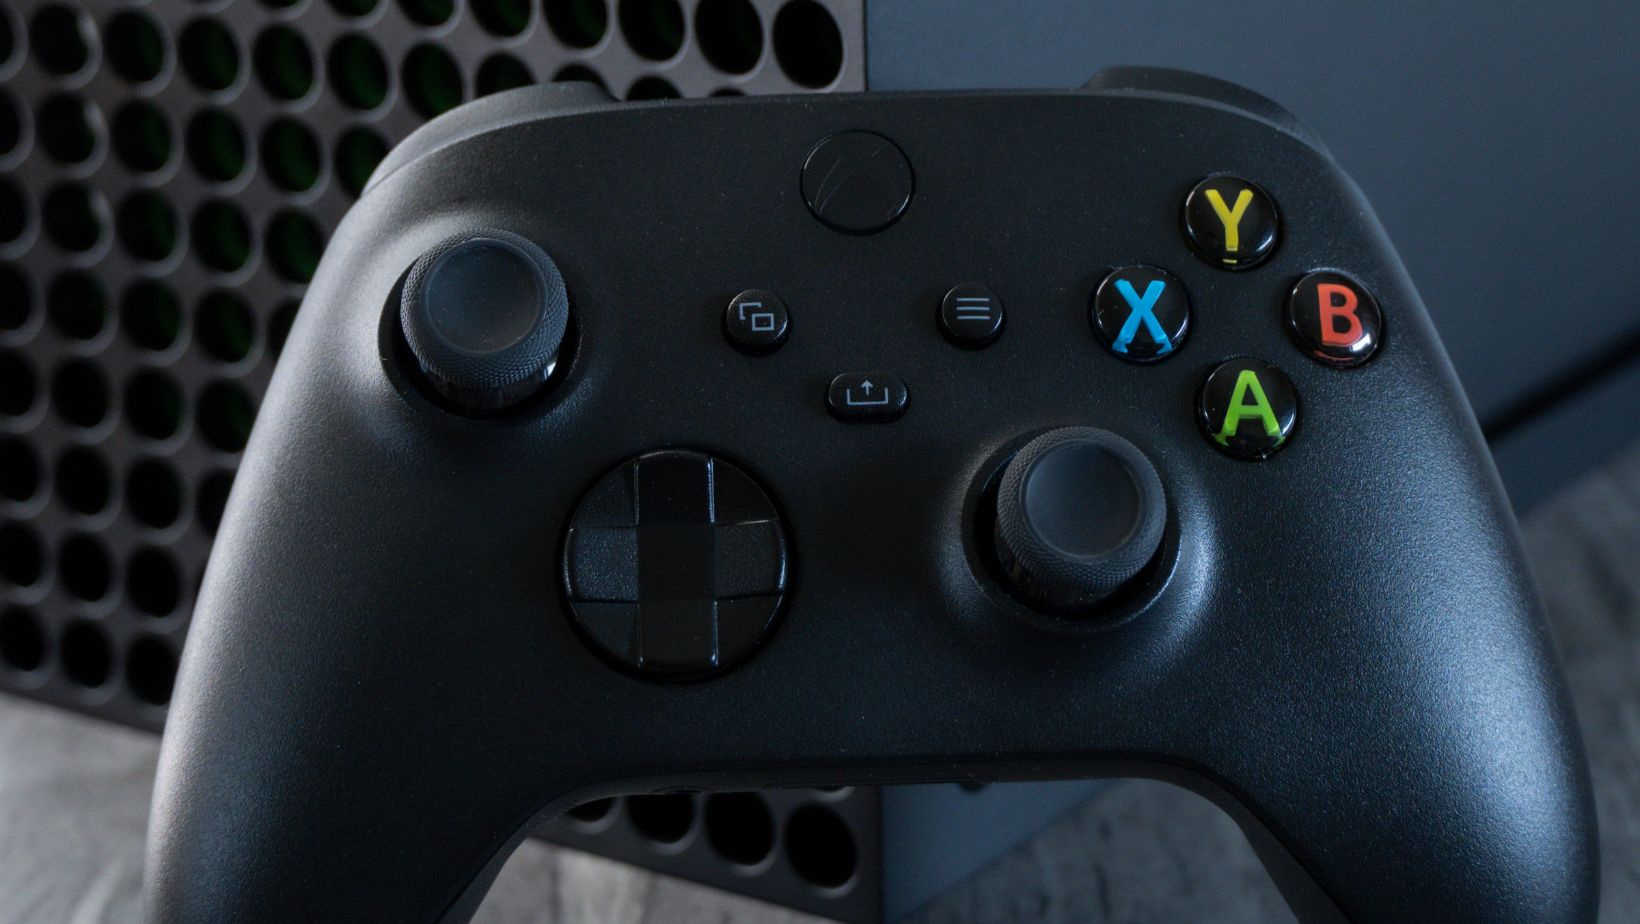
Xbox controllers constitute key elements in enhancing gaming experiences. They’re engineering marvels brimmed with mechanisms collaborate for a flawless gaming session. Getting familiar with its components counts as a natural progression in this discovery journey.
The Xbox Controller features components that serve their unique, crucial roles. Visualize familiarizing yourself with a new town; understanding its layout, streets, and landmarks lays all confusion to rest, enabling efficient navigation.
- Face Buttons
- Directional Pad
- Thumbsticks
- Shoulder Buttons
- Trigger Buttons
Having a grasp of the Xbox controller’s layout, both externally and internally, ensures a smoother disassembling process when necessary. It’s all in comprehending the intricacies of the controller’s design and artwork – the marriage of technology and creativity. This exploration aids in handling the controller with more confidence, particularly during disassembling and possible repair tasks.
How to open xbox controller
Opening an Xbox controller comprises several stages. The first demands a sense of preparation. You’ll gather necessary tools, which include a T8 Torx screwdriver, and a plastic opening tool, according to Console Cleaning, an authority on console repair.
Following the gathering of tools, you’ll remove the battery pack. This simple task involves flipping the controller, revealing the battery compartment. A gentle push on the pair of release buttons, cited in the Xbox hardware support manual, eject the pack.
With the battery pack out, your next focus becomes the side handles. They’re gently pried off with the plastic opening tool. IGI, a leading institute in gaming hardware, states to start prying at the seam where the top and bottom of the controller meet.
A successful handle removal exposes screw holes. These holes house five screws which I remove with my T8 Torx screwdriver. The faceplate, according to Fixit, a prominent repair guide, lifts off after all screws are removed.
Those basic steps constitute the process of opening your Xbox Controller. Everyone in the gaming world finds them straightforward, offering a technique that is both safe and efficient. Though some may face challenges, with patience and care, one can break through the barrier. Remember, this does not correct a faulty controller. Instead, it provides access to the interior, laying the foundation for possible repair.
Step-by-Step Guide to Open Xbox Controller
Despite apprehensions, the operation of opening an Xbox controller for repair or maintenance carries a level of simplicity. From the outset, a suitable workspace acts as a key factor in this process, associating itself to effective disassembly.
- Organize Your Workspace
- Assemble Necessary Tools
- Remove the Battery Pack
- Detach the Side Handles
- Unscrew the Controller
- Open the Controller
Each of these steps contribute to an orderly, efficient disassembly process with minimal risk of component damage. Contingent on conscious efforts, successful controller opening seals the deal towards extending your gaming device’s longevity and increasing your knowledge about its inner mechanisms. Remember, familiarity with your Xbox controller doesn’t just aid in gaming proficiency, but also in effective maintenance.
Impact on Warranty
It’s essential to remember that opening your Xbox controller can void its warranty. So, before you dive in with your T9 Torx screwdriver, make sure you’re okay with that. Opening up your controller isn’t a task to be taken lightly, but with patience and attention to detail, you can navigate through the process smoothly. You now know what’s inside your controller and how to access it. Whether it’s for maintenance or repair, you’ve got the know-how to get it done. Remember, every component is essential, so handle with care to ensure your gaming device’s longevity. It’s a straightforward process, but it’s not without its risks. So, tread carefully, gamers.